Showing posts with label Australian Sewing Guild. Show all posts

Monday, 26 May 2014

Wot I dun on the weekend by BeaJay

First let me apologise for the title of this post. I have just finished 4 weeks of training Certificate III in Business and some of my students were just out of school and insisted on calling me "Miss". Groan groan. Took me right back to kindy.

Anyway my weekend was wonderful.

I have had a fabulous couple of days down at Stanwell Tops! I was joined by about 29 other sewing ladies from the Australian Sewing Guild and in particular the Rhodes and Alexandria groups, for a weekend of stitching our way through tonnes of fabric.

This is picture heavy but I do have a new outfit picture at the end of the post for show and tell.

This is where we stayed:

Arial View - Picture from The Tops Conference Centre website
Outside view - Picture from The Tops Conference Centre website


Accommodation - Picture from The Tops Conference Centre website

It had a real fun camp feel to the weekend and I couldn't help but sing Kumbaya. The air was fresh, the sky blue, the surrounding countryside an amazing green and food was delicious.


Here we are stuffing our face - they didn't stop feeding us.


Above are some great friends from my sewing group.
Front left Sharon from Petite and Sewing
Jinty - no blog
Kristy from Lower Your Pressure Foot
Sandra - no blog but you can see her marvelous work on Pattern Review where she is Dilliander
Cathy - no blog
Gail from My Fabrication
A new friend who's name I can't remember
And Wendy ( in green top) - no blog


Below is our sewing room with Wendy industriously at her machine.
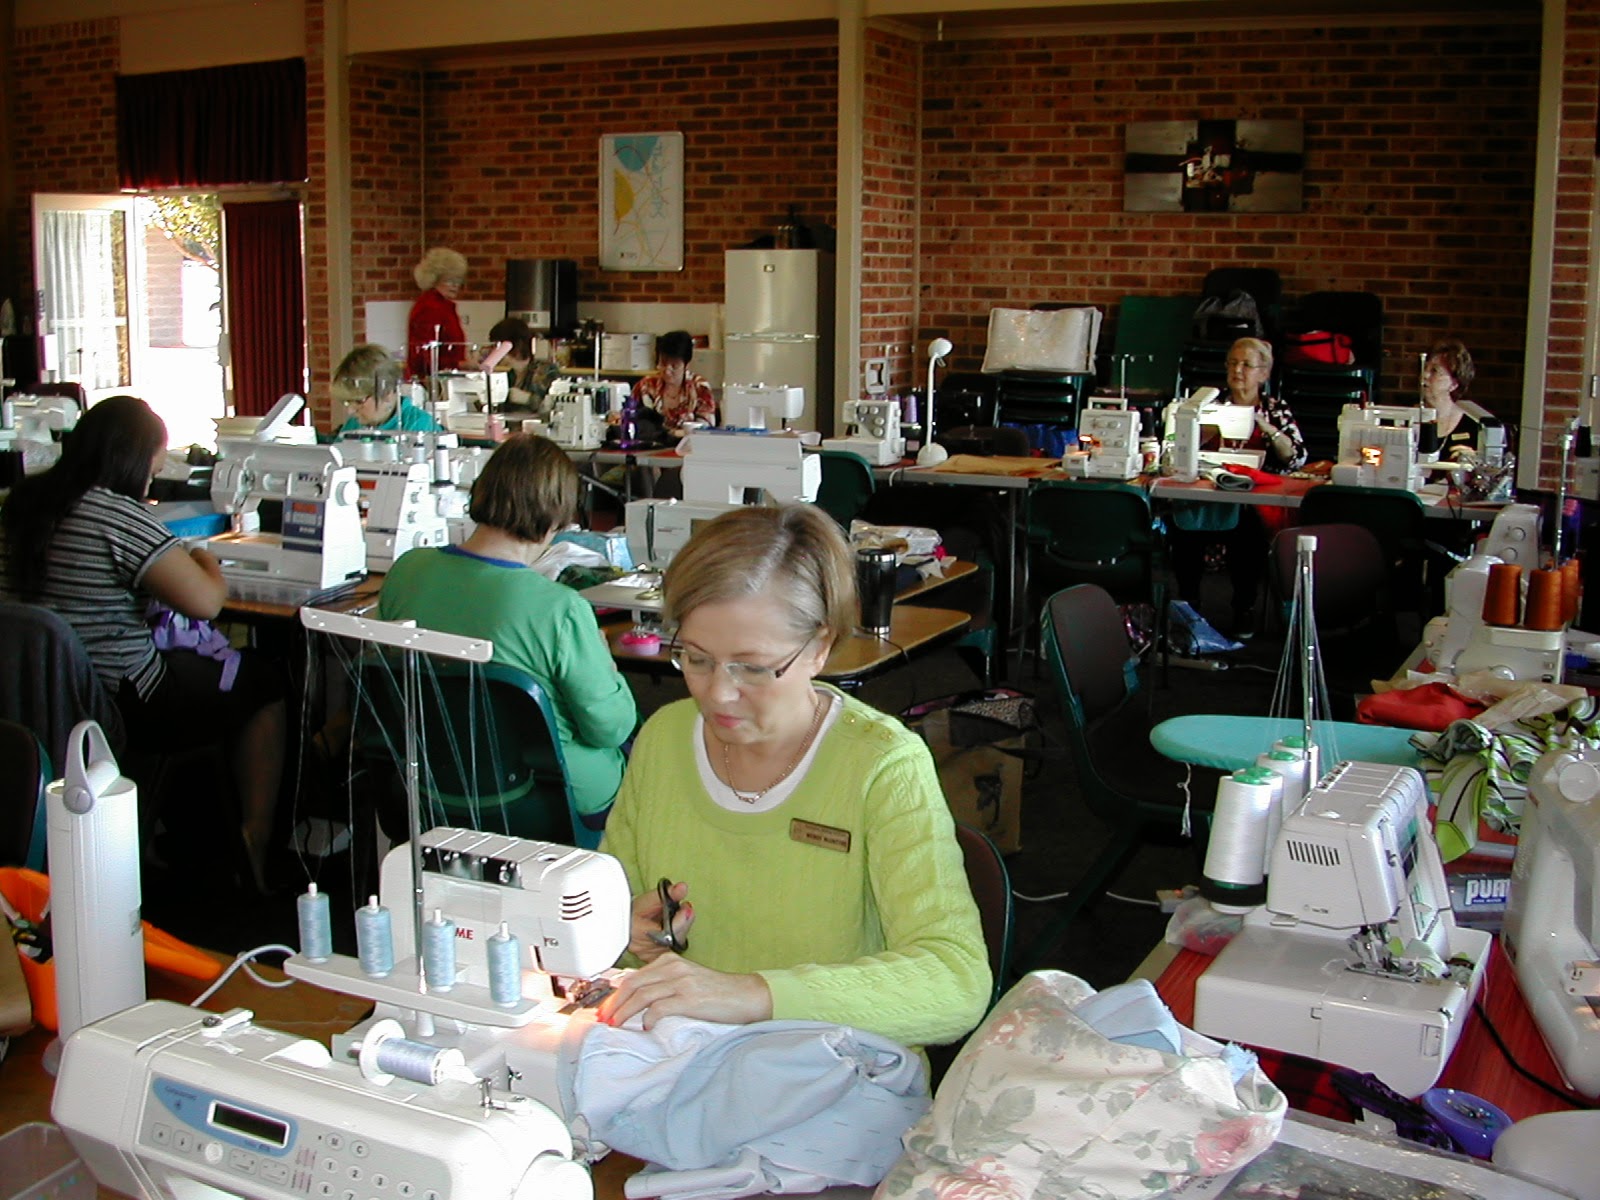

Here is my area with my weapons of mass construction


Someone brought a friend. Babs was highly annoyed that I didn't invite her. I told her there wasn't room in the car. She is still not talking to me.


Here is Kristy, Jinty and Di hard at work cutting and prepping.


Wendy from Costumes from a Shoe Box is always highly entertaining and makes it even more of a fun time.


Here is the view from our sewing room:


I managed to rustle up almost 6 tops. I say almost as one was a UFO and only needed finishing, 2 have been completely finished and 3 need hemming. After making all of my different coloured Barb pants I needed tops.

Here is the UFO now finished - sort of. I do want to bring the sides seams in a bit.

It is Butterick 5855 which I have sewn before but this time I kept the "sleeves" shorter as the first time I was trying to incorporate a border. It is pictured with a pair of lime green StylyArc Barb pants that I have cut off at under the knee to make capris. I thought a full pant in lime green might just be OTT. I also gave the Barbs a tiny "flare" at the bottom. Warning warning warning - put on your sunnies. I can direct traffic with this high viz gear.

Photo by Sandra (Dilliander) - thanking you

The wrinkles on the bengaline pants are from hours sitting and sewing. The Bengaline is from StyleArc and the groovy 60's top fabric is from Vogue Fabrics.com. It was labeled as a knit but is quite a firm knit with very little stretch. I must admit that I do like the flashback deco look of it. It is still available if anyone else wants to be safe at night. It has now sold out.

All in all a very comfy outfit that will do well for my weekend wear. I see more Barb capris and Butterick 5855s coming up in my future. Maybe more toward our Spring as we will be starting Winter in 5 days - not that you would know it with a balmy 28 degrees Celsius (82.4F) forecast for tomorrow.

More later - I will take piccies of my other items when I can.

A big huge gigantic thanks to the lovely Sharon from Petite and Sewing for organising such a wonderful weekend.

Sunday, 26 May 2013

Busting Butterick Item 1 - Part 1

Yesterday I attended our monthly sewing guild meeting and started on Busting Butterick Down. I received the pattern on Thursday so it was great timing.
Here it is - the pattern to be busted
The magnificent Velosewer very kindly offered help and believe me - it was so appreciated. To borrow her blog name - how good is that! That someone will give their valuable sewing time to help someone else. Maria - you are one very cool lady.

I really really really wanted to start with the dress - seeing as I have my TNT dress pattern and Carolyn is going to send me her sandwich instructions when I start on the dress (and I so love dresses) - however - it is freezing here in Sydney now and moving quickly into winter - so I reluctantly let logic rule and started with the jacket. 

As a reminder - here are the 2 juxtaposed jackets. The me sized yuk and the soon to be me sized yum.


I am going to detail how we made the alterations. Mainly as a record as this blog is my way of recording my sewing journey.

Maria and I quickly set ourselves up in a separate room from the "sewers" so we could spread out, plot, cut and stick...... Looking at the pattern - which goes up to size 22 on the envelope but in reality an Australian size 16/18 (bust of 113cms) - we realised we would need to add quite a bit to the pattern as I would be about a AUS size 26 - 28 in RTW. 

After discussions we decided the first move would be to look at the sleeves. Maria whipped out her tape measure and after careful calculations we decided that we would need to add 10cms to sleeve. We discussed ways of doing this - split and spread or adding to the sides and we measured the bottom of the sleeve and we felt that spreading the sleeve would make it too big at the bottom so we added 5cms to each side and graded down.

I find that the big 4 patterns shoulders fit me in the smaller sizes so I wanted to keep the shoulder width the same and not increase it.


This meant we needed to add 5 cms to the sides of the front and back pieces that connect to the sleeves. This added 20cms to the girth of the jacket already starting the enlargement process.

5cms added to the sides

Maria then pinned the altered top piece to me to decide how much more need to be added. After taking many more measurements it was calculated that I needed to do a FBA (which added a dart to the pattern) and put in 4cms. After more careful pinning (which was quite funny as I am 178cm tall and Maria is not) it was decided that another 2cms was needed to bring centre front to - well - my centre front. Maria had a great idea of adding these cms a little further along so that the changes are more incremental than all at once. We also then needed to move the new dart down to Bev placement.


We also had to add some length because hipster length is okay for me to go over dresses and skirts - but not to go over slacks which I want the long sleeved version to do. I will do a short sleeve version with the dress which will be shorter in length too.

Here is the altered front piece - now THIS is a pattern alteration! Not for the faint-hearted.


The back was relatively easy - just a bit of added width and length.

Ran out of paper!

 Of course the collar and facings had to be changed as well.


It was a very interesting process made fun by having Maria there to help, measure, give advice and share her knowledge. From time to time sewers from the other room would wander in, have a look, give pointers and share stories of their FBAs. Amanda told of a much better way using grids and I was going to give her my email address after so she could email the directions to me but I forgot so if anyone knows how to contact Amanda - please let me know.

All were a bit shocked that I had cut into the pattern itself. Normally I do trace off my patterns first but this is an exercise in BUSTING Butterick and I thought it a great statement to actually bust the pattern open! 

After all the pattern alterations were done, Maria left me to go and work on her pattern for a hoodie. She was wearing her trial and it looked fabulous. Being a great sewist with an eye to detail Maria wanted to tweak it for a better fit and she showed us the beaut fabric she has for her next version. Be sure to keep an eye on on her blog for that.

I then laid out my pattern on my trial fabric to cut. A lot was said yesterday on the process of muslins / toiles.  I always like to make a toile in a fabric that I would be happy to wear but not devastated to lose. Hence the hard work can pay off and hopefully you have a wearable toile. Hence I used a rust coloured hemp/cotton blend.

Alison came in to have a chat and saved me from forgetting to cut the facings and collar on the fold. Phew - I only had scraps of fabric left over so that would have been a big problem.

I ended up with a pile ready to sew. Next job sewing.


I highly recommend joining the Australian Sewing Guild and going to a meeting near where you live (sounds like AA doesn't it???) What a great supportive bunch of ladies. It is great to look around and see all these beautiful home made outfits being worn - makes you realise with a bit of practice banning RTW can work.

I also get to see great things like Kristy's now fully lined Marni Jacket in life - very nice indeed, Velosewer wearing not only the lovely hoodie - but made by her slim leg jeans as well. She also brought in the great cover up top to show me. Come Summer I will be all over that . Dilliander was there working on her next masterpiece, Alison wearing a top she whipped up, Sharon modelling a  fantastic "fractured knit" cardigan made from a workshop I have now signed up for and many more lovely ladies sharing and caring.